Hi Community,
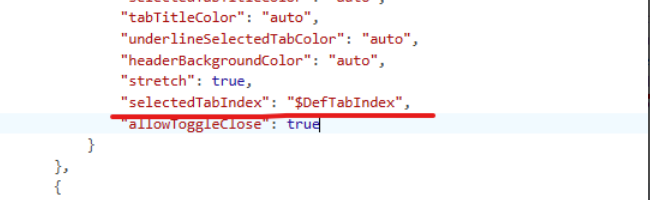
I’m on Creatio 8.3.2 (Freedom UI) and I’m trying to set the first tab as the default on every page init, because the designer option under Tabs (“Default tab”) isn’t working in my case, so I’m doing it in code.
What I’m doing
I subscribe to the page model events inside crt.HandleViewModelInitRequest and wait for finish-load-model-attributes, then set the tab index to 0:
{
request: "crt.HandleViewModelInitRequest",
handler: async (request, next) => {
await next?.handle(request);
request.$context.events$.subscribe(async (evt) => {
const modelMode = await request.$context.getPrimaryModelMode();
if (evt?.type === "finish-load-model-attributes") {
if (modelMode === "update") {
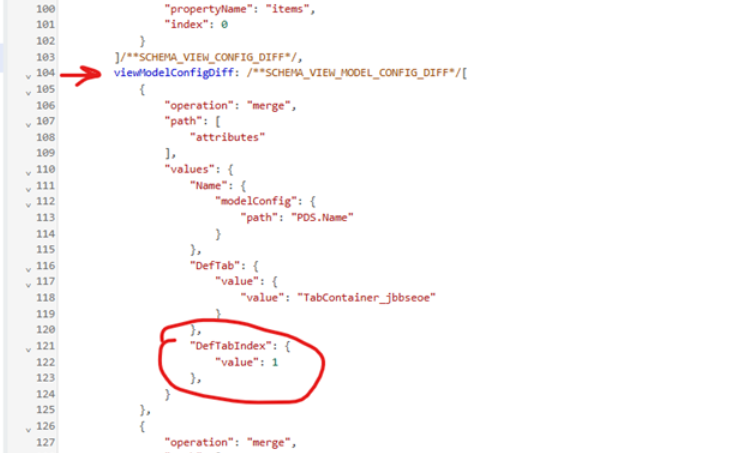
request.$context.Tabs_SelectedTabIndex_Profile = 0;
}
if (modelMode === "create") {
request.$context.Tabs_SelectedTabIndex_Profile = 0;
}
}
});
}
}
The problem
This event is emitted more than once (e.g., when another list/detail inside a tab finishes loading later), so my code keeps re-triggering and forces the UI back to tab 0 even after the user already switched tabs.
Unsubscribe attempt (doesn’t work)
I tried the pattern I saw in a comment on the CustomerFX article about waiting for the model to be loaded (store the returned subscription and call unsubscribe() when the needed payload arrives):customerfx
const sub = request.$context.events$.subscribe(async (evt) => {
  if (evt?.type === "finish-load-model-attributes" && evt?.payload?.SomeAttribute) {
    sub.unsubscribe();
  }
});
But in my case (8.3.2 Freedom UI) this doesn’t seem to work at all.
Questions
- What is the correct syntax / pattern to unsubscribe from
request.$context.events$ subscriptions on Freedom UI pages (8.3.2)?
- Does
events$.subscribe(...) always return an object that supports unsubscribe() in Freedom UI, or is there a different disposal mechanism?
- Is there a recommended “run once when page is really ready” event/request that avoids
finish-load-model-attributes firing multiple times?
If anyone has a working example for 8.3.x (especially for “run once” behavior or proper unsubscribe), I’d really appreciate it.